|
As you're finishing off the last of the turkey sandwiches and the kids are looking for things to do, it's time for the Grand Opening of Santa's Workshop.
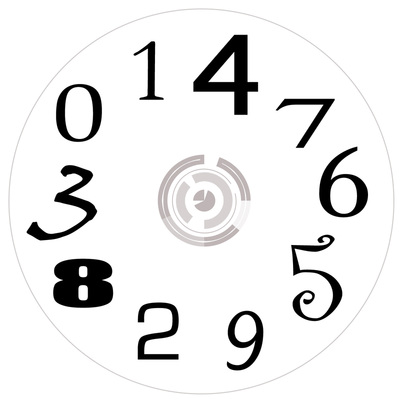
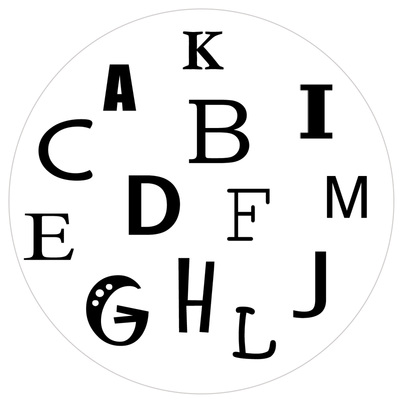
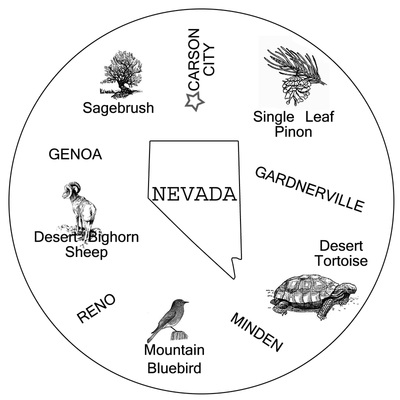
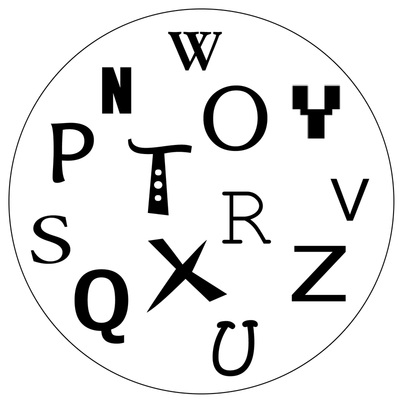
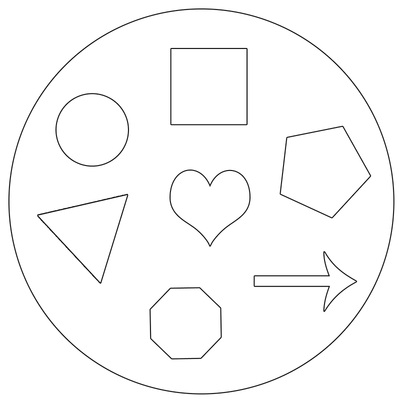
Every year around Thanksgiving, as I'm cleaning in preparation for guests, I make a pile of gently used and unused items around the house. Things I neglected to return or little trinkets that just never found a place in our home. I also throw in some interesting items from the recycling bin and various art projects that came home from school. And finally, I select some special papers, stickers and ribbon from the craft closet. SOME of the ITEMS IN THE WORKSHOP THIS YEAR: partial packs of post-it notes magnets pieces of a music kit purple cloth bags that new shoes were packed in pecans collected from our yard DIY calendars really cool canisters and jars art work fabric partial deck of animal-themed Go Fish playing cards shoelaces small 3-ring binder and plastic pockets Next, I make the announcement that Santa's Workshop is almost open. I allow a quick peak at the items in the workshop, and then--first, we have to brainstorm a list of people we want to give gifts to this Christmas. Most kids want to give gifts to EVERYone (that guy walking down the street right now!). We review some basic social rules on who it is appropriate to give gifts to, and then we set aside a basket for "EVERYone" gifts. GENERAL CRITERIA FOR APPROPRIATE GIFT-GIVING: family, god-parents people you see almost every day, and you greet by name (teachers, neighbors) people who have made a profound impact on you (church friends, postal worker, librarian) very close friends people who will be giving a gift to YOU! This list may be different in your child's eyes than yours. Try to be flexible! :) There is no wrong person to give a gift to, but you can explain how "our culture" works and how sometimes people feel awkward when they receive a gift they weren't expecting from someone they don't know. That said, random gifts can be the most powerful of all, so be prepared for some random gift recipients on your child's list! With the list in hand, take your child through Santa's Workshop (this can be a simple pile in a closet, or a spread across a large table). The one RULE FOR THE WORKSHOP: You can use ANYTHING in Santa's Workshop for making gifts, but show it to mom or dad first and tell them what you have planned for it. (This way you can guide your child through a hot gluing project or steer them away from a potential disaster. You can also quiz your child to make sure they're making a gift that is appropriate for the person on the list!) PROCESS: Ask your child who's up first on the list. Then interview your child, "What does your teacher like? What does she not like? What kinds of problems does she have during the day at school? What do you think she does for fun?" From this interview, my daughter came up with a special finger cymbal set that her teacher could use to get the class to quiet down. Thoughtful and appropriate! The best gifts are the ones that demonstrate you care about and notice the recipient! Try to back off and let your child create and experiment. Once the gift is ready it should be wrapped and tagged and set aside. Children have a tendency to go back and put more finishing touches on their creations; which can lead to disaster. With a long list ahead of your child, there won't be time for perfection! Focus on completion, as this is a big task! Your child's artwork makes EXCELLENT wrapping paper. We are using cards from the partial deck of playing cards for gift tags! PROJECT MANAGEMENT: Show your child how fun it is to check people off the list as each gift is completed. Help your child budget their time and resources--and get items in the mail on time! Feel free to purchase items needed to complete any gift ideas. Santa's Workshop is a starting point for inspiration! MISSIONS ACCOMPLISHED: You cleared some clutter You gave your kids a positive, creative activity You empowered your kids to participate in giving You taught your kids time and project management skills You taught your kids about empathy, perception and intuition AND--you ensured a good giggle or teary eye on Christmas morning when you realize that your child put their heart and soul into turning a recyclable into a piece of jewelry to match your favorite outfit. Enjoy and Merry Christmas!! I developed this game for a DIY Upcycled Gifting workshop. I believe my niece and nephew, children of Amanda, were the beta testers. Suggested Supplies: Recycled/Reused Canisters with magnetic base and lid Old Board Game pieces Adhesive Magnets Colored printing paper Print the templates below (click, right click, save) on the colored printing paper. Cut out the circles. Templates: Assemble:
Adhere magnets to game pieces. Game pieces can either be all one color, or different colors for multiple players. Templates should fit snugly at the base of the canister. The canister is the travel case for the game, as well as the gaming table. To play: Single Play Choose a template. Place template on metallic side of canister. When player sees Letters, Numbers or Shapes outside, while riding in the car, cover the item with a game piece. When all items are covered, HURRAY! You won! Choose a new template, repeat. Multi-Player You may gift each player in the family with their own complete canister. This allows for easier maneuvering of the pieces while riding in a car. Players can set unique rules based on the ages of the players and the route of choice. Examples: The first player to cover their board wins. (One player could be using Letters, while another is playing with Shapes) Cooperative effort: race against the clock or the mile markers to cover as many items together. We want to hear about YOUR DIY Up-cycled gift! |
Angela's Musings about Public Education, Web Design, Business.
|

 RSS Feed